Keeping unit names accurate in your HandyTrac system may seem like a small detail, but it makes a big difference in day-to-day operations. When unit information is outdated, even routine tasks can become more frustrating than they need to be. Leasing, maintenance, inspections, and key pulls all depend on staff being able to quickly identify the right unit. A simple name change done correctly helps keep your system organized and your team on the same page.
Why accurate unit names matter
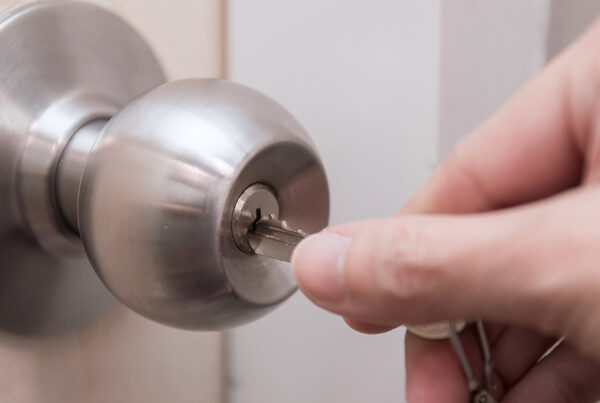
In property management, consistency matters. If a unit name in the system doesn’t match how your team refers to it onsite, it can slow down key access, create unnecessary questions, and increase the chance of mistakes.
Updating unit names promptly helps your staff:
- Find the right unit faster
- Reduce confusion during key check-out and return
- Maintain cleaner records
- Stay aligned when buildings, unit numbers, or naming conventions change
It’s one of those simple maintenance tasks that supports smoother operations across the board.
A few best practices before you make changes
Before editing unit names, it helps to have a consistent naming standard in place. That way, updates are not just quick, they are also uniform across the property.
A few simple tips:
- Double-check the spelling and numbering before saving
- Use the same format across all buildings and units
- Let your team know when naming changes are made
- Review related labels or key tags if your property recently changed layouts or identifiers
A small amount of planning upfront can help prevent rework later.
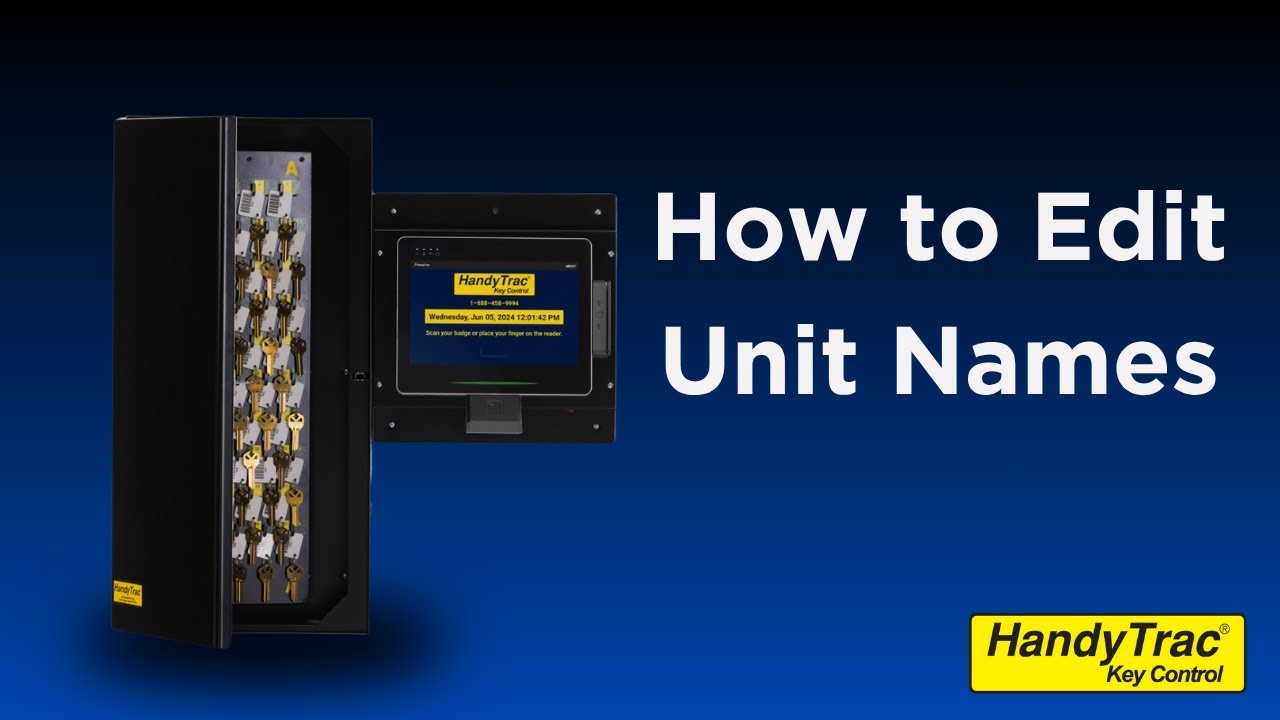
How to edit unit names with HandyTrac
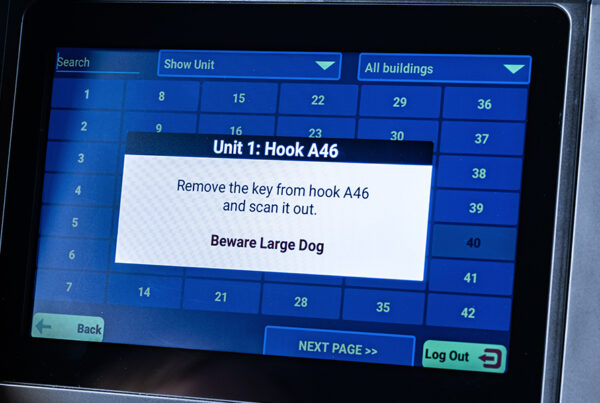
With a HandyTrac key control system, editing a unit name requires Master Access. The process requires users to sign in via the system datalog, open Administration, select Change Apt/Unit#, choose the unit you want to edit, enter the new name, and confirm the change.
Step 1: Sign in with Master Access
Start by logging into the HandyTrac system using credentials that have Master Access. This is important because administrative changes are restricted to authorized users.
Step 2: Open the Administration menu
Once you are signed in, go to the Administration menu. This is where system-level changes and updates are managed.
Step 3: Select “Change Apt/Unit#”
Inside the Administration menu, choose Change Apt/Unit#. This will open the list of units and any extra locations currently stored in the system.
Step 4: Choose the unit you want to update
Scroll through the list and tap the unit name you want to edit. Take a moment to confirm you selected the correct one before making the change.
Step 5: Enter the new unit name
Use the on-screen keyboard to type in the updated unit name. This could be a corrected unit number, a revised naming format, or another approved label used by your property.
Step 6: Confirm the change
After you enter the new name, the system will confirm that the update has been made. Once that confirmation appears, your new unit name is in place.
If you prefer to see the process in action, the video below walks through how to edit fingerprint access step by step.
Editing unit names in HandyTrac is a straightforward process, but it plays an important role in keeping your key control system clean, accurate, and easy for staff to use. When unit information matches your property’s current setup, your team can work with more confidence and less guesswork.